Placements
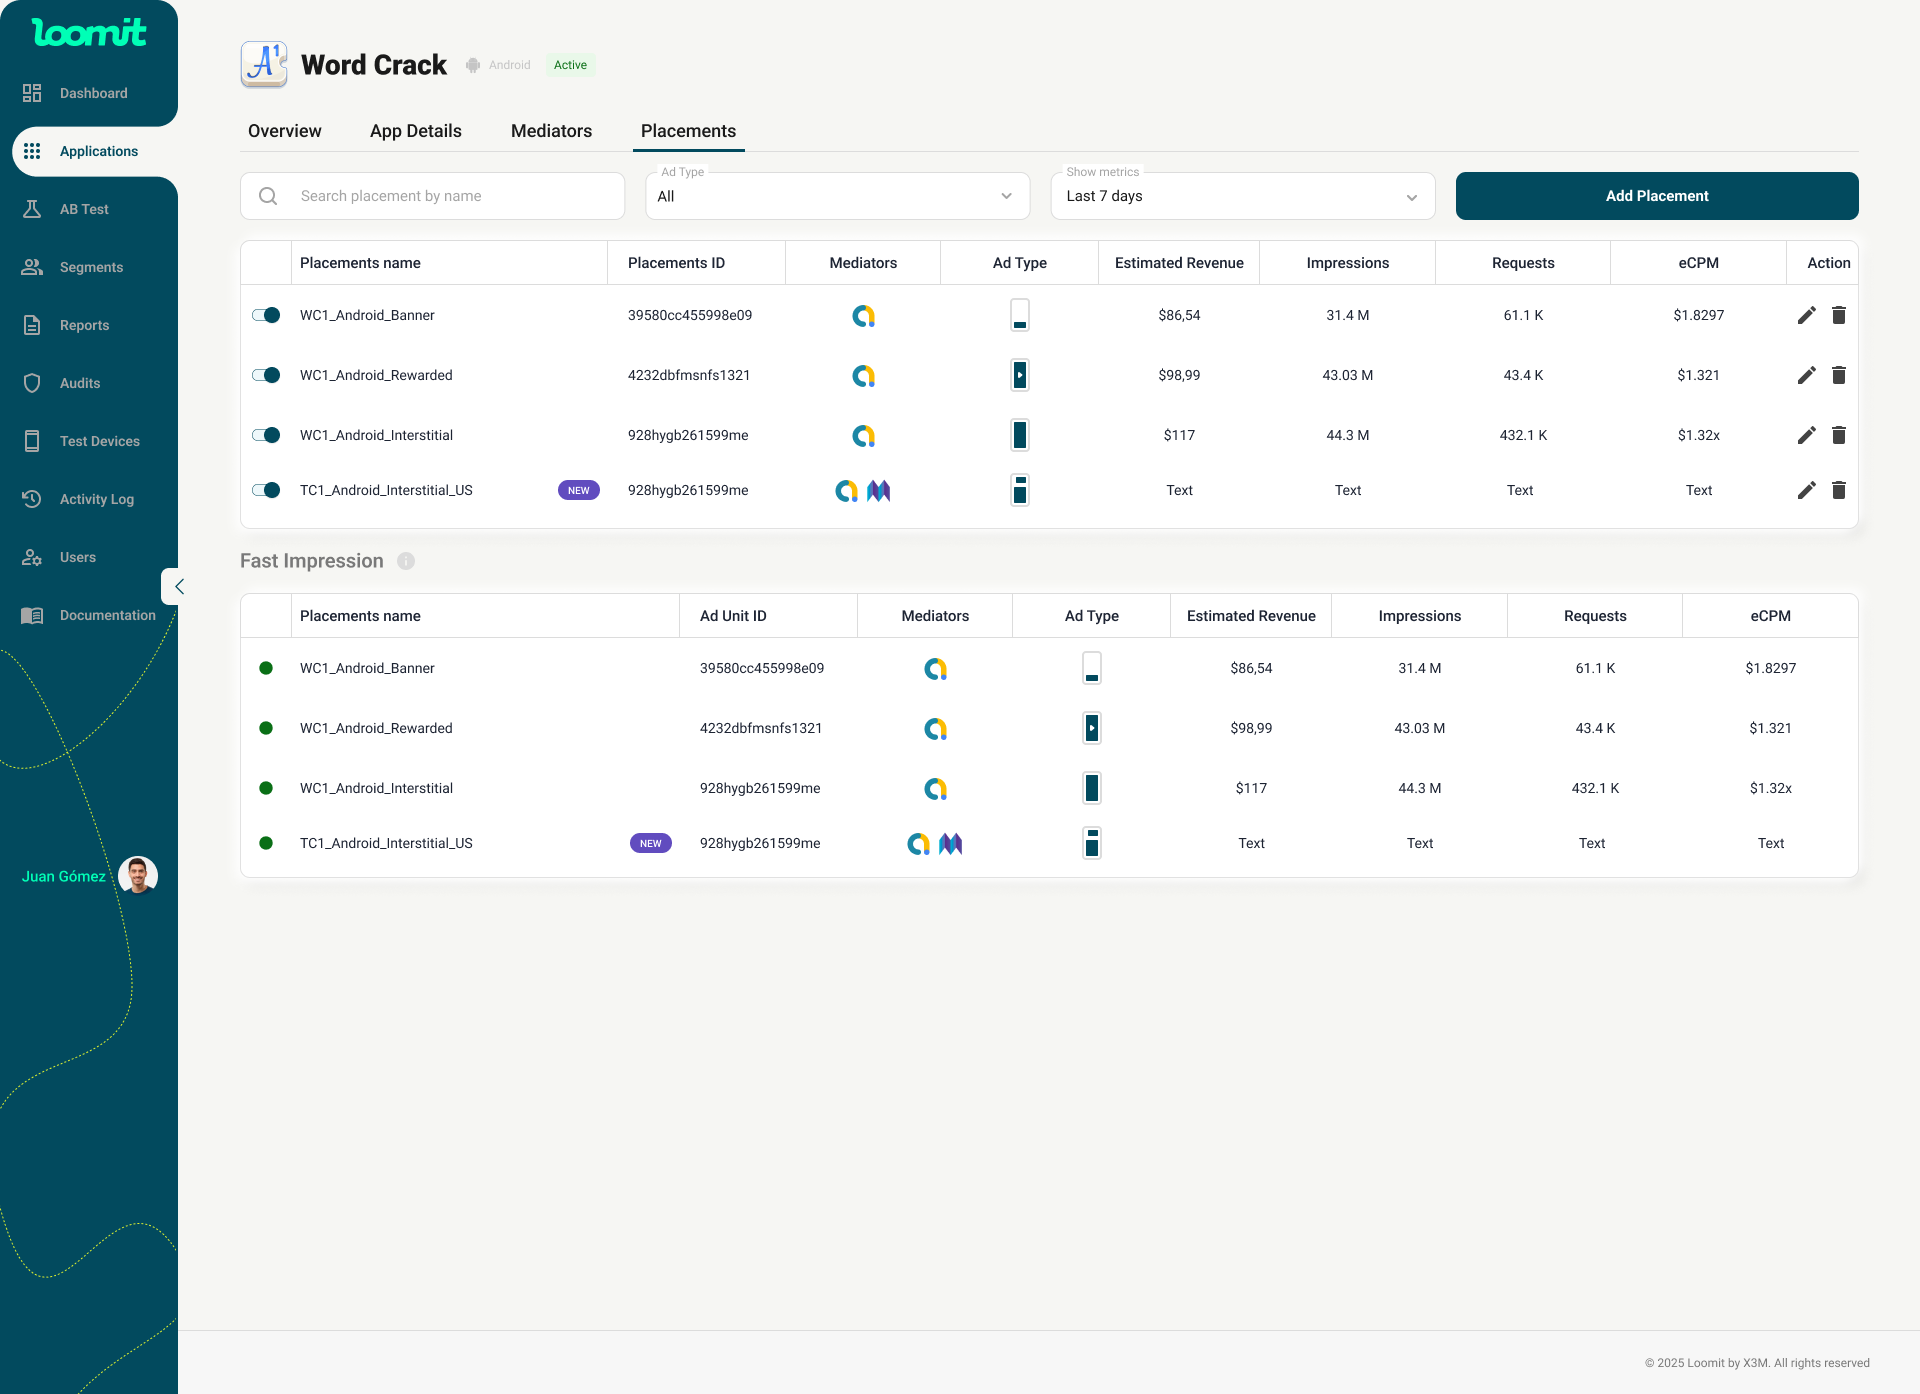
In this section, you will find an Add Placement button. Below, you will see a Placement Table with the following columns:
Table Columns
- Status Switch: Allows you to enable or disable the placement.
⚠️ Turning a placement off may affect your monetization.
- Placement Name: The name assigned to the placement within the mediation setup.
- Placement ID: A unique identifier required by your SDK team.
- Mediators: Indicates which ad mediators are associated with the placement.
- Ad Type: The format of the ad (e.g., Banner, Interstitial, Rewarded, App Open).
- Estimated Revenue: The projected earnings generated by the placement.
- Impressions: The total number of times an ad has been displayed.
- Requests: The number of ad requests sent from the app to the ad network.
- eCPM (Effective Cost Per Mille): The estimated revenue earned per 1,000 impressions.
- Action: Options to edit (✏️) or delete (🗑) the placement.

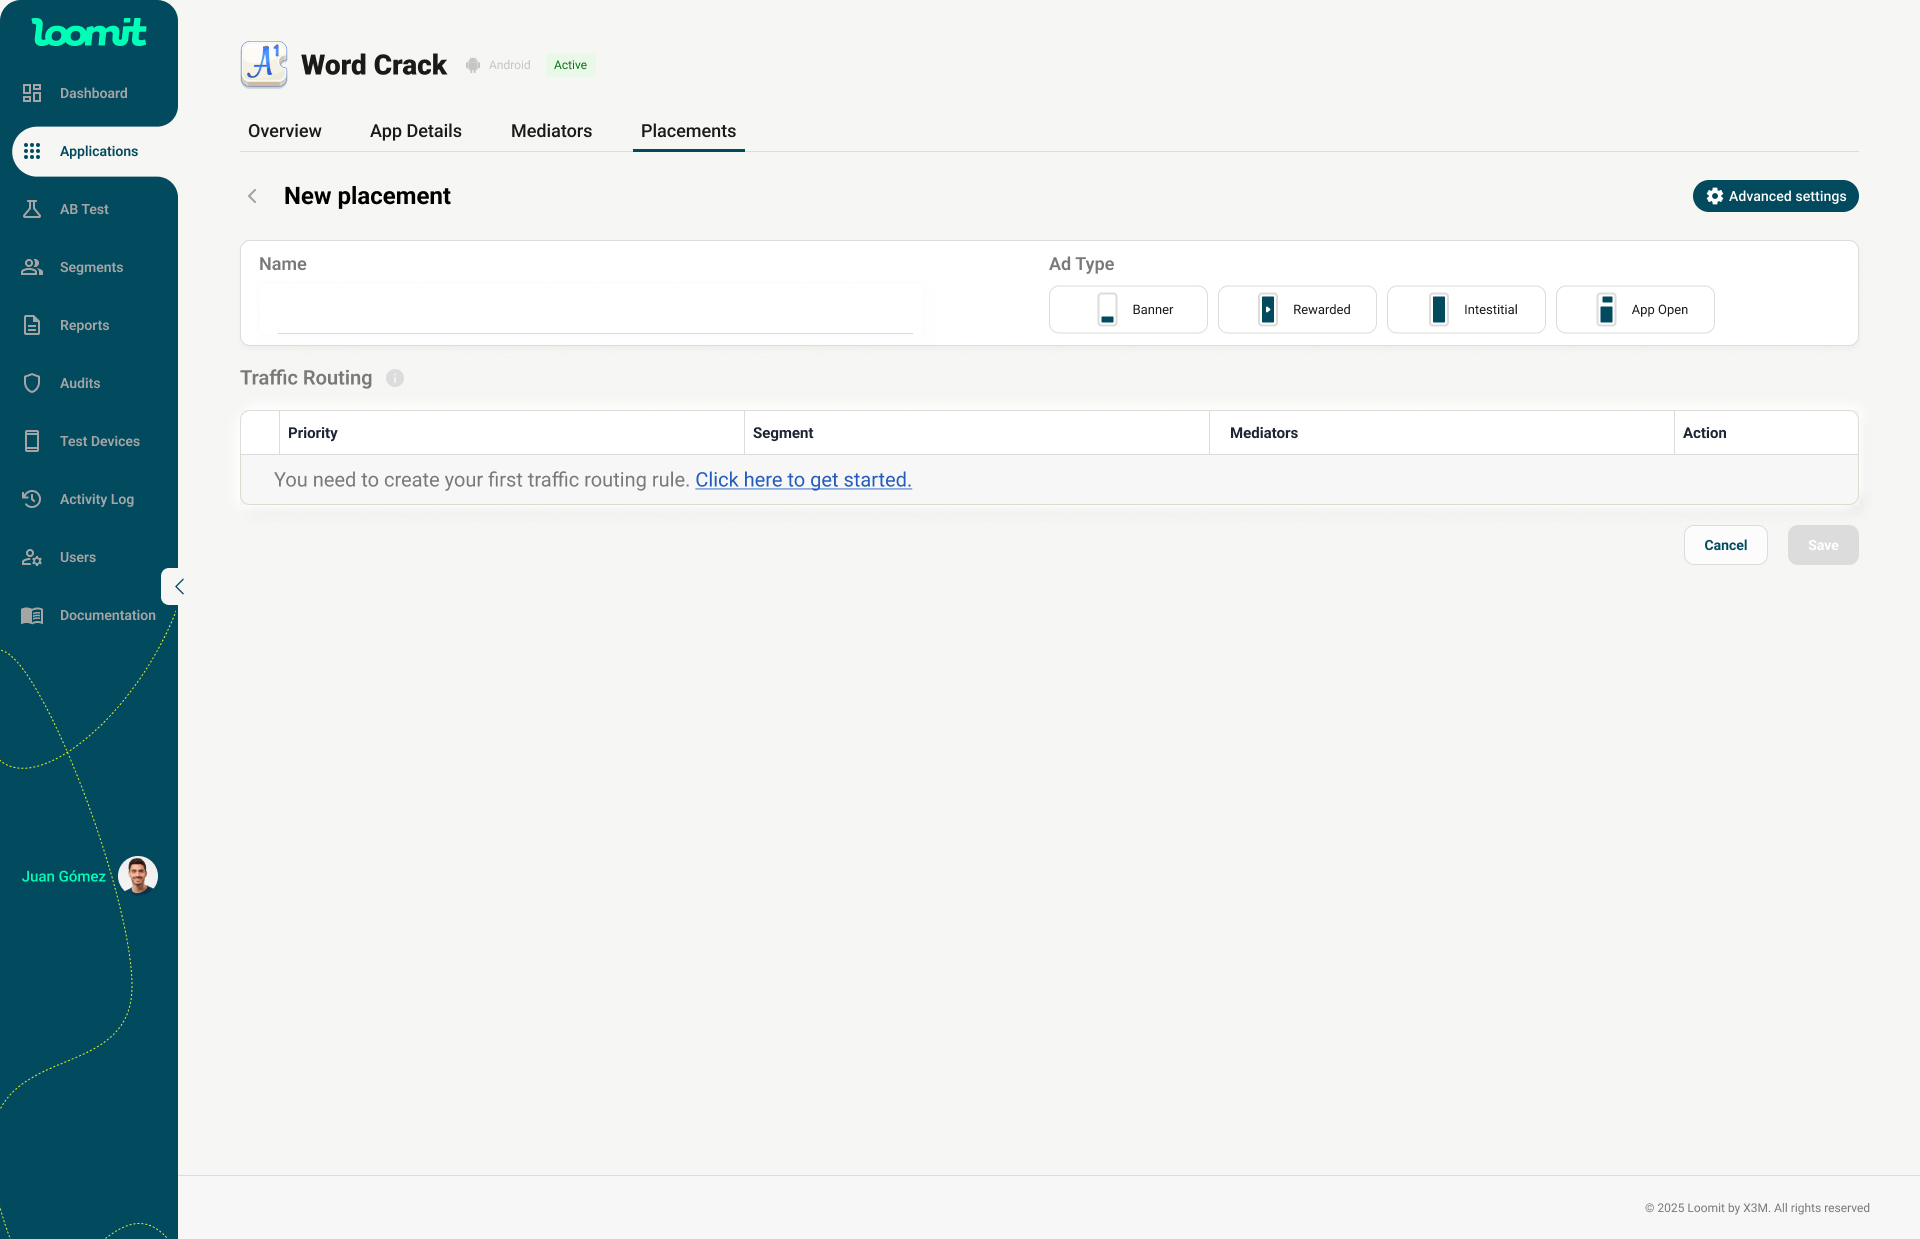
Creating a New Placement
To create a new placement, click the red Add Placement button in the Placement section within each application.
Steps to Create a Placement
- Provide a Name
- Follow a naming convention that helps you identify it easily.
- Follow a naming convention that helps you identify it easily.
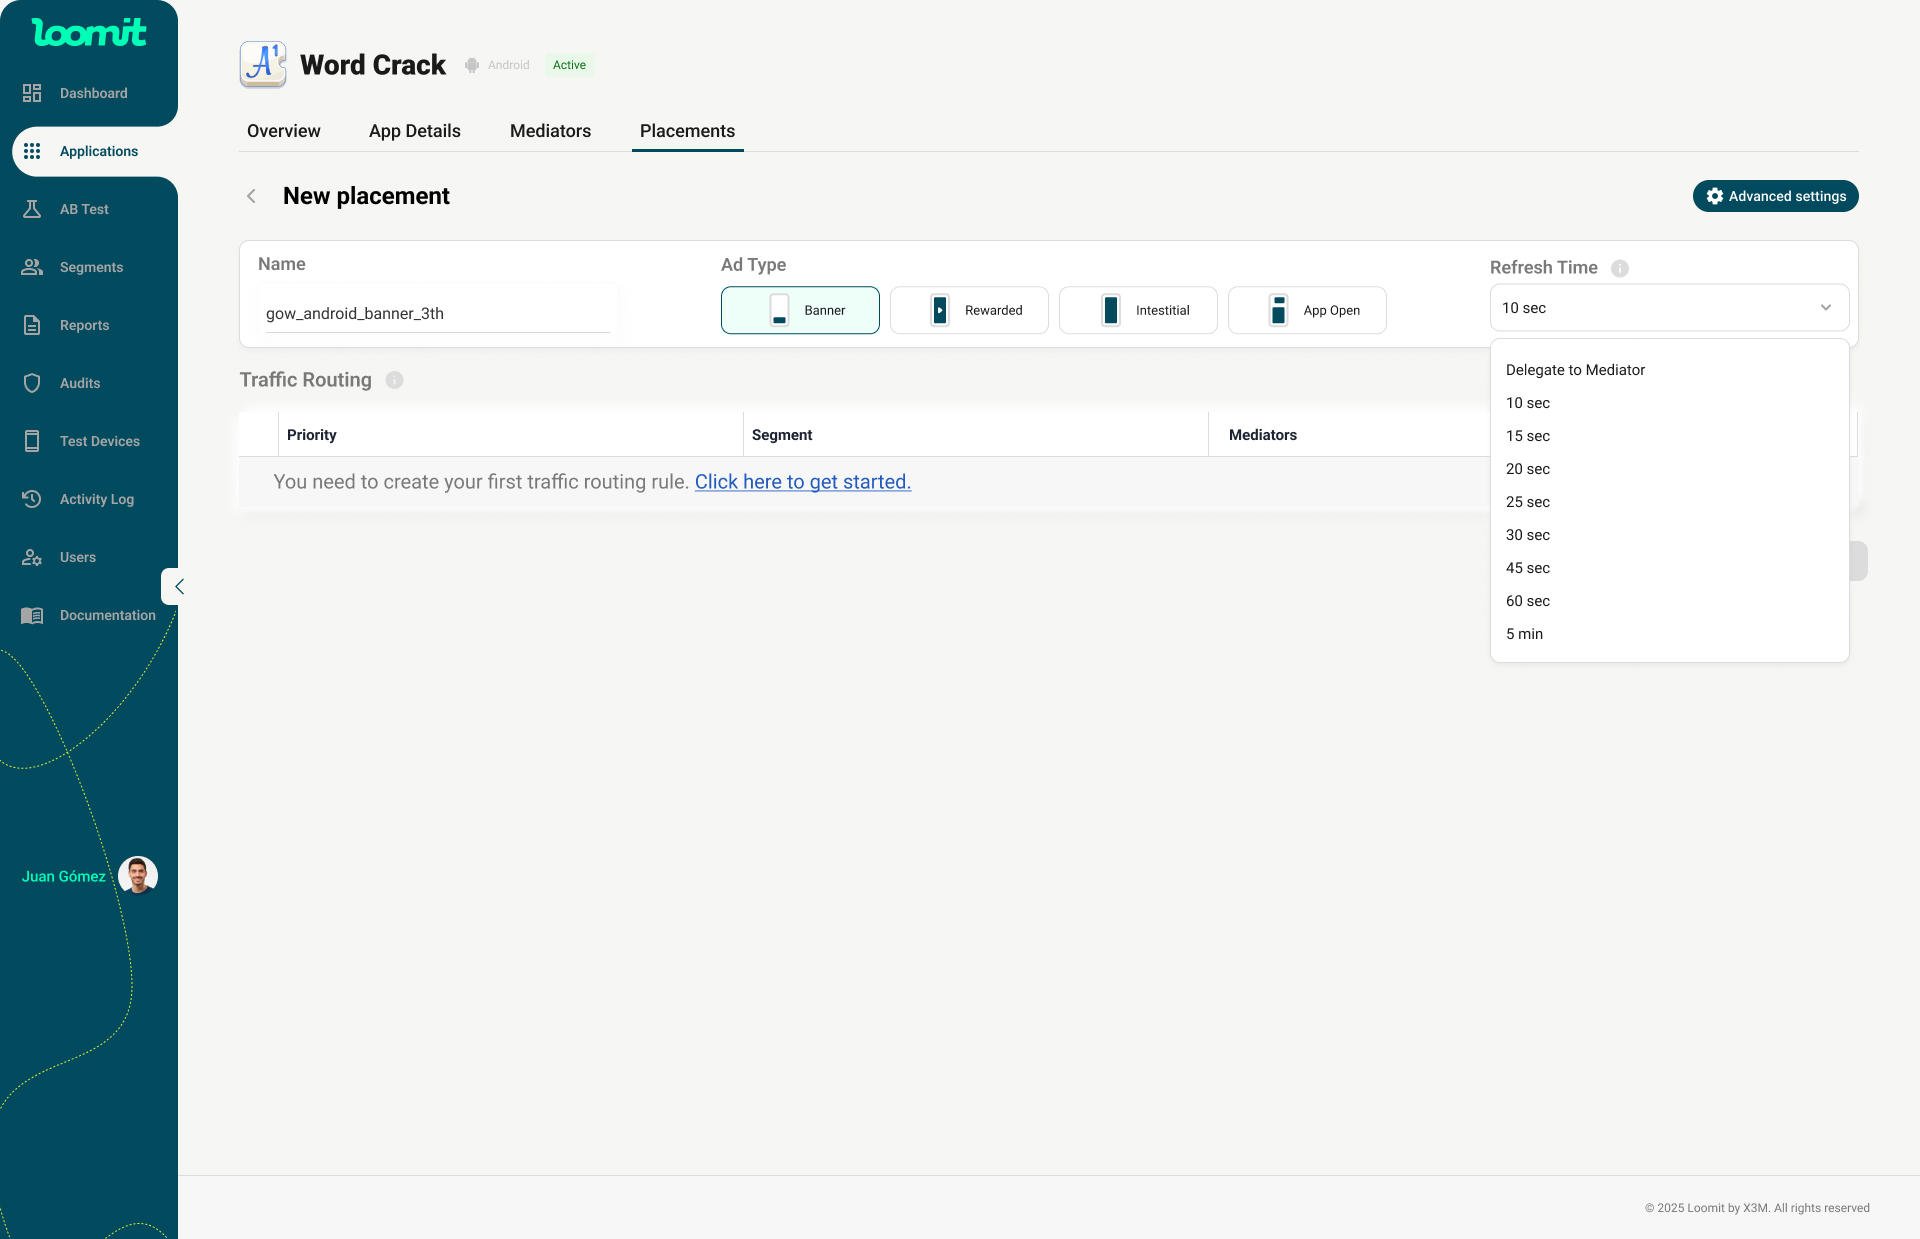
- Select an Ad Type
- Choose from the options supported by X3M.
- If selecting Banner, you must also choose a Refresh Time.
- Refresh Time: This is the time interval (in seconds) that defines how often a banner ad will automatically refresh and display a new ad.
Example: A Refresh Time of 30 means the banner will request and display a new ad every 30 seconds.
-
Configure Traffic Routing
- Below, you will see an empty table for Traffic Routing.
- To complete the configuration, you must have at least one traffic routing.
- Click the blue button:
Click here to get started
-
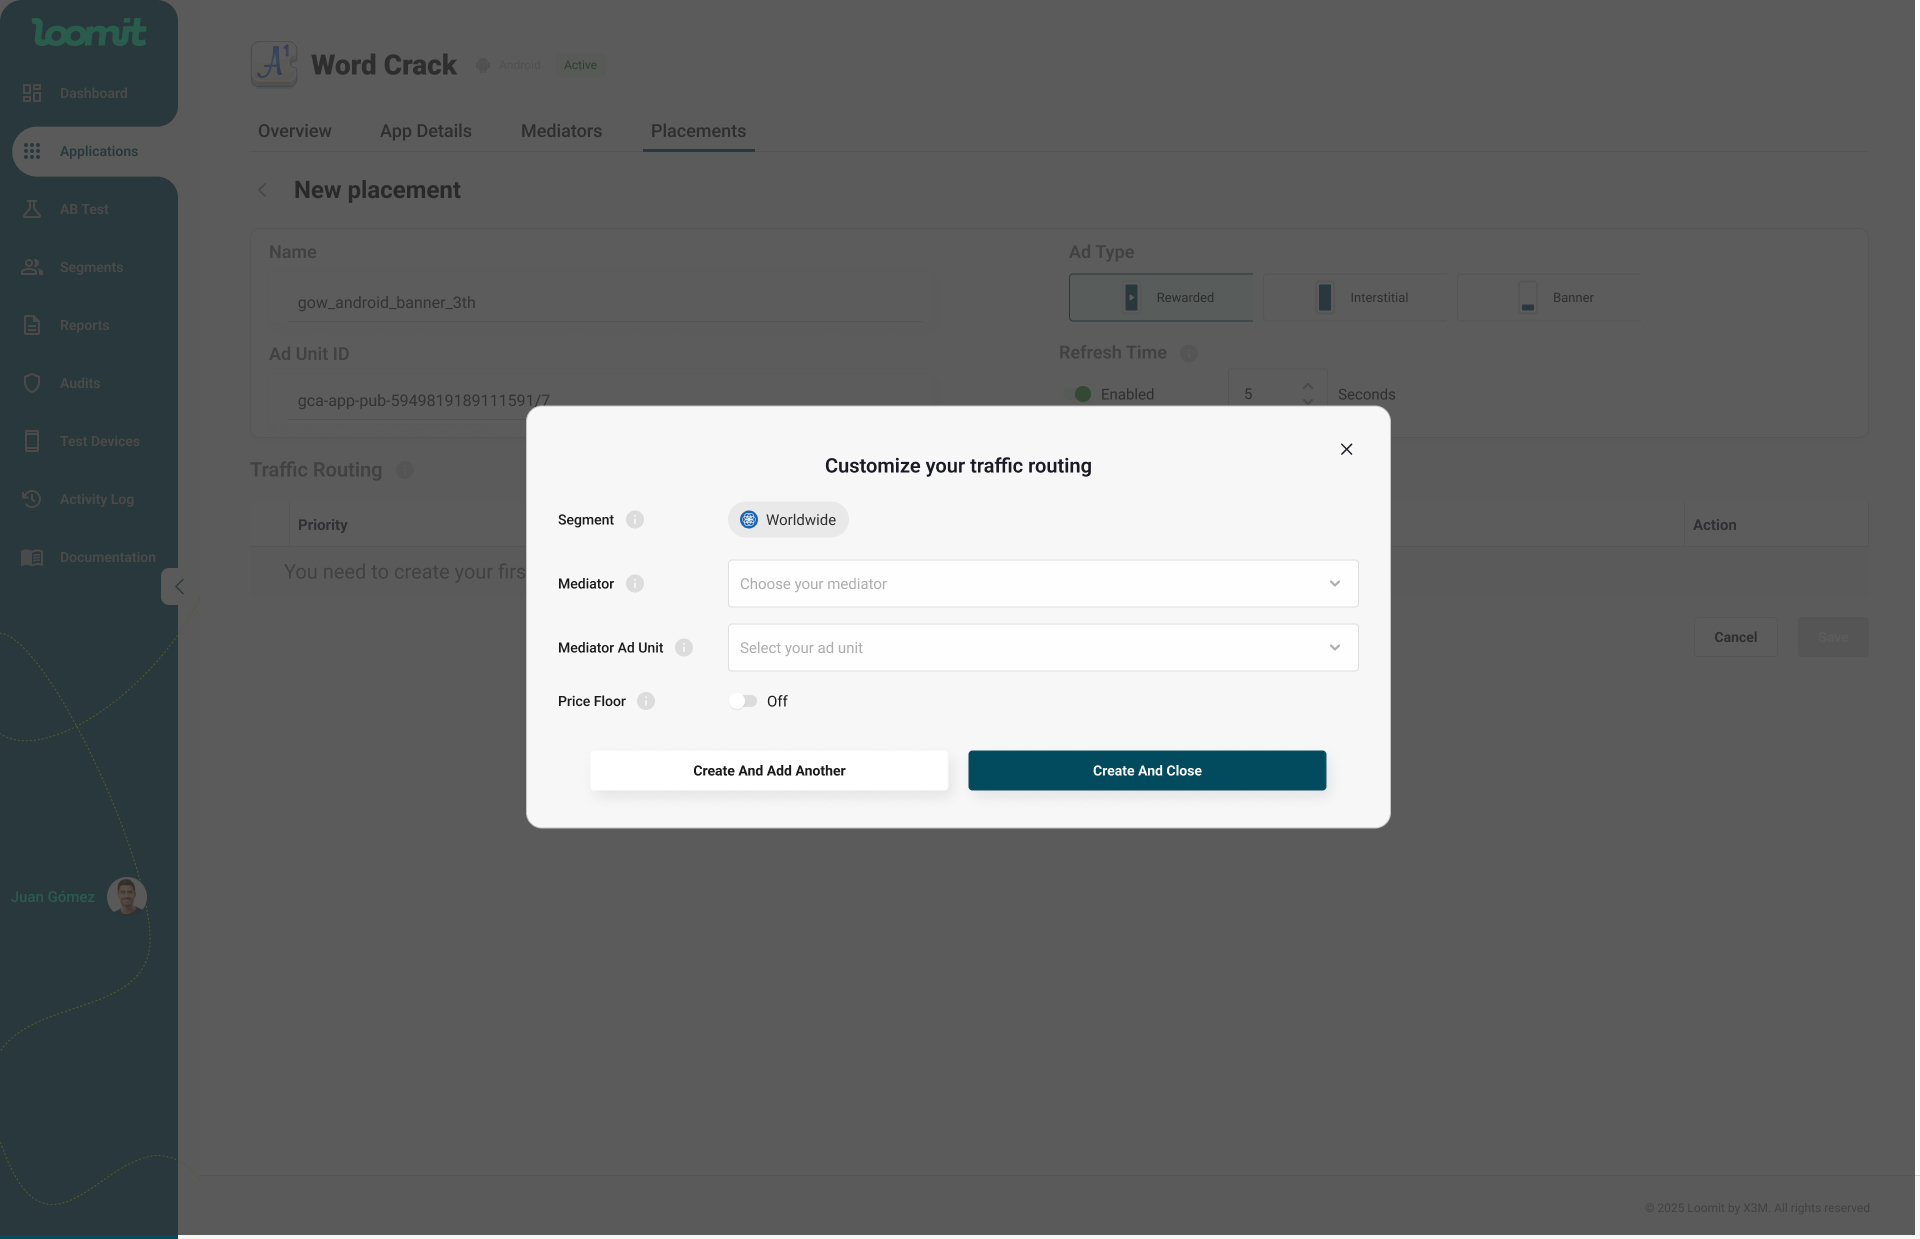
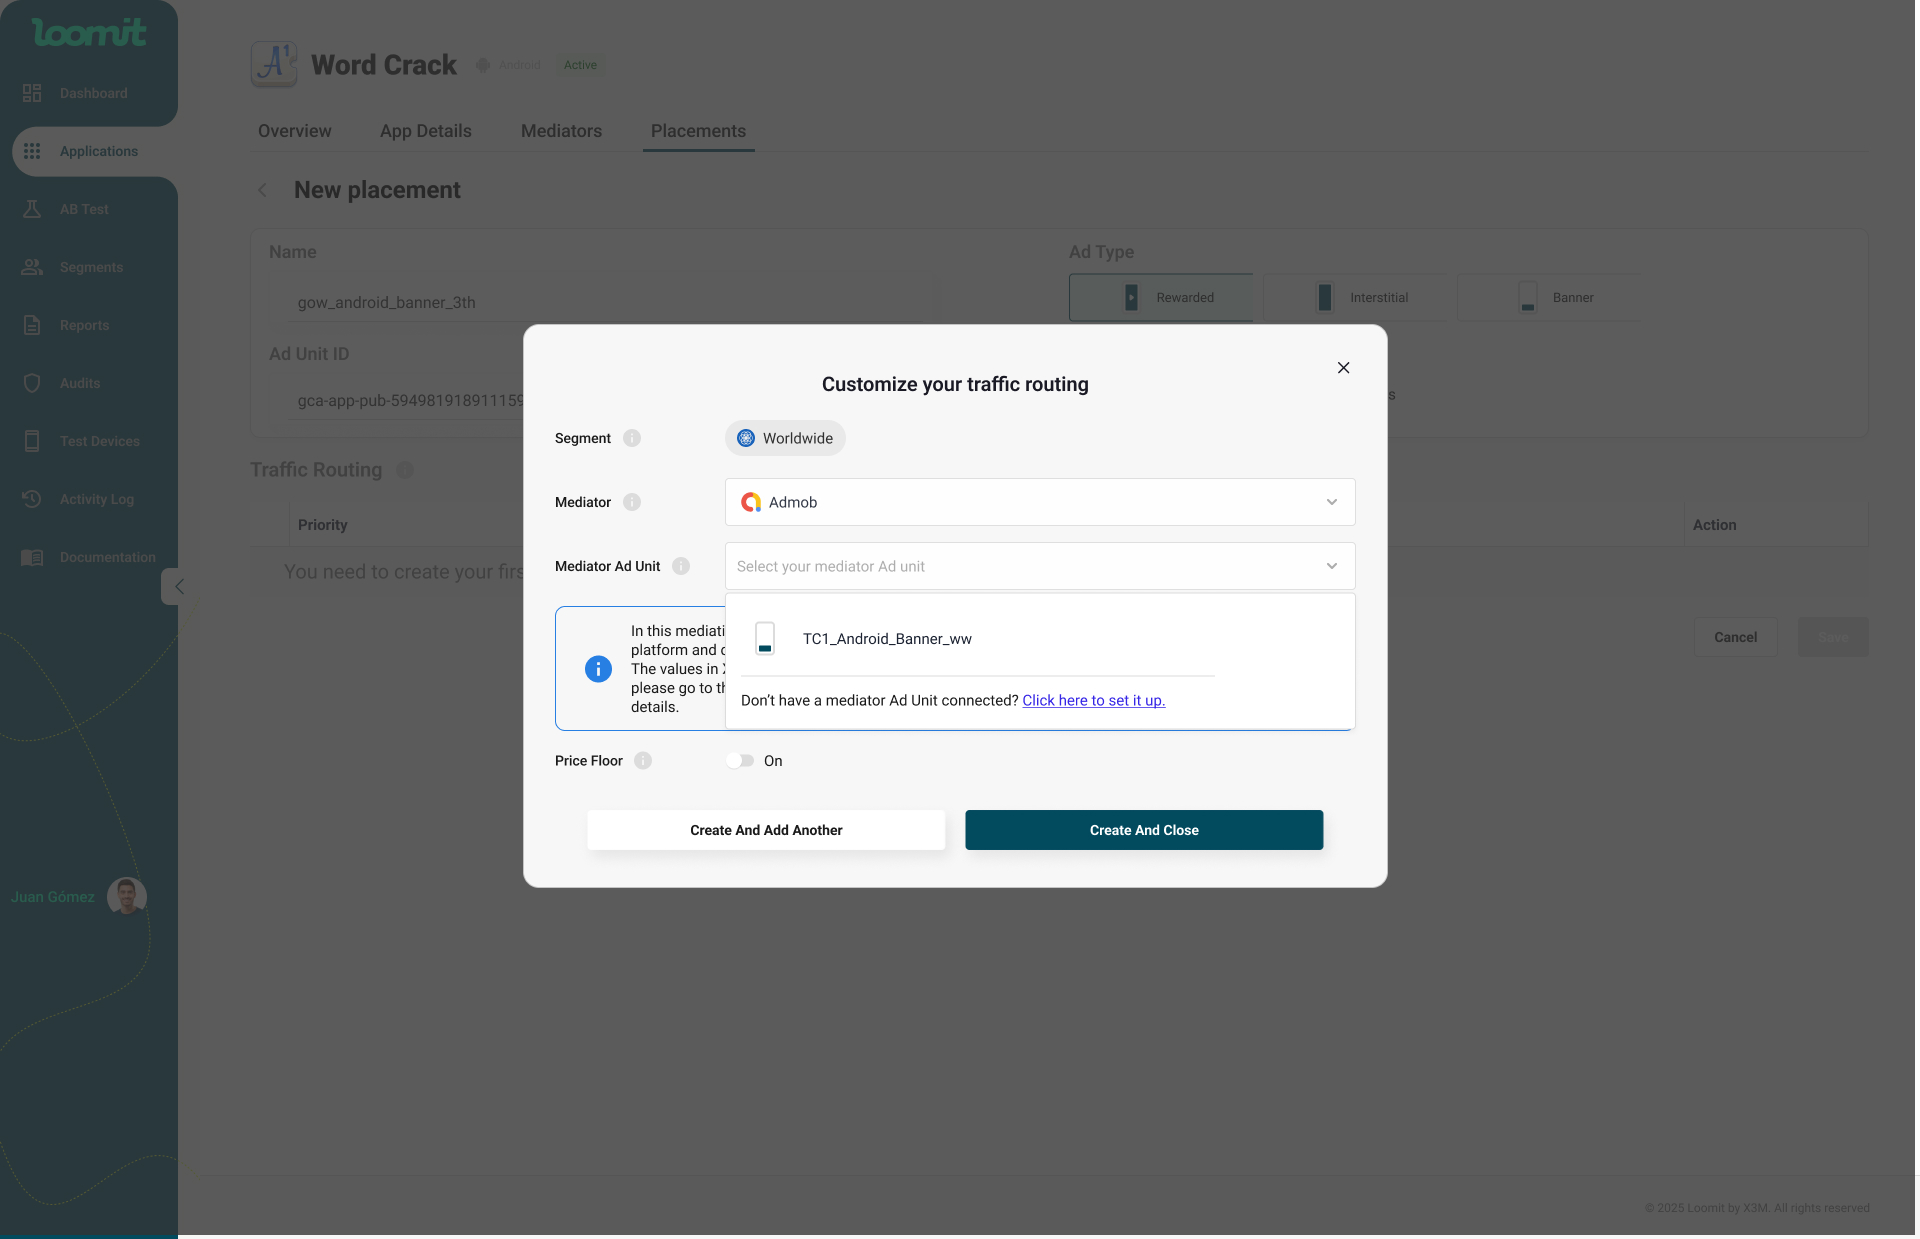
Set Up Traffic Routing
- A creation modal will open with the default segment set to Worldwide.
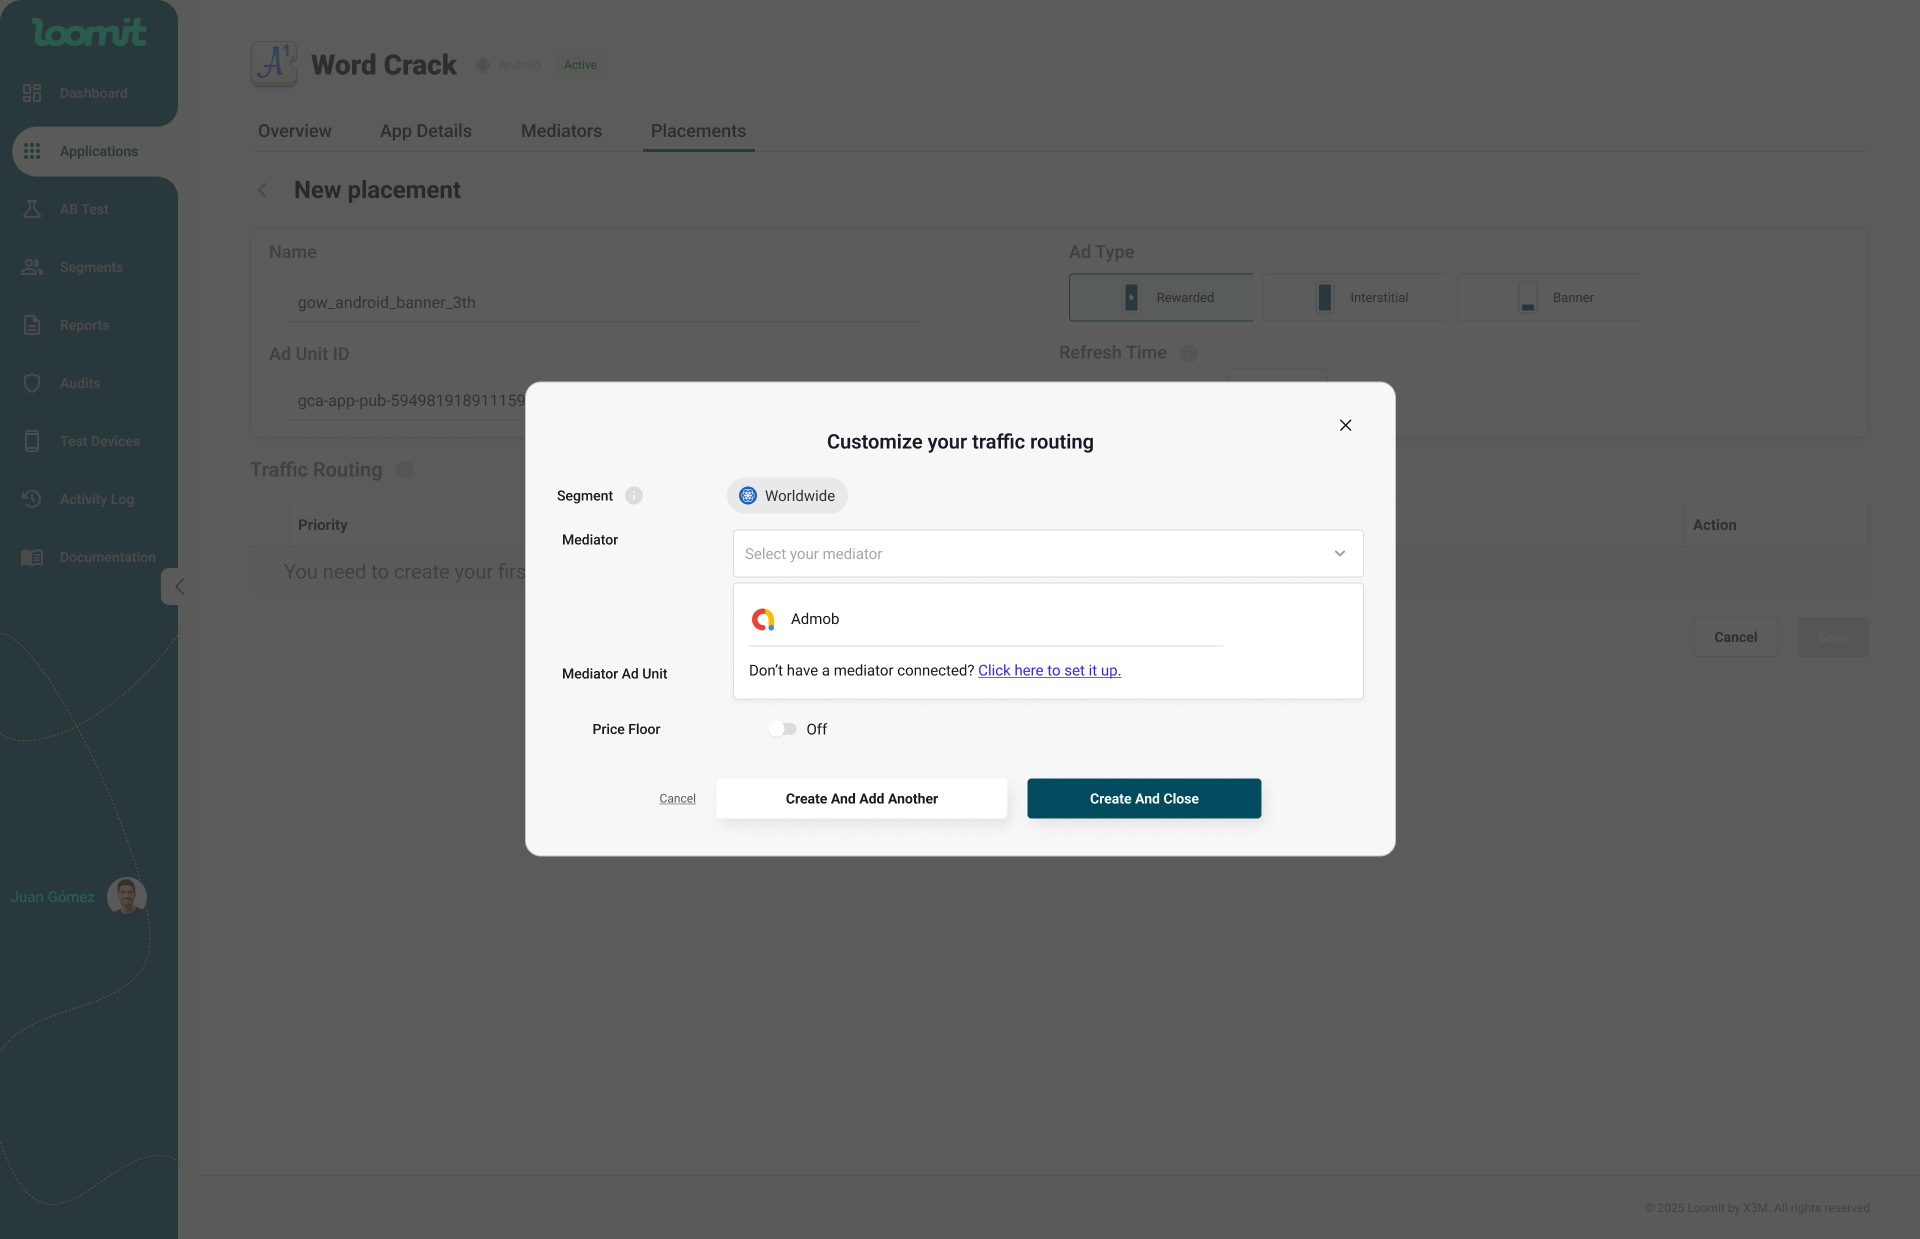
- Choose the desired mediator.
- Only configured mediators will be listed, but you can set up a new one if needed.
- Select the Ad Unit (filtered automatically based on the placement).
- Create your first traffic routing.
-
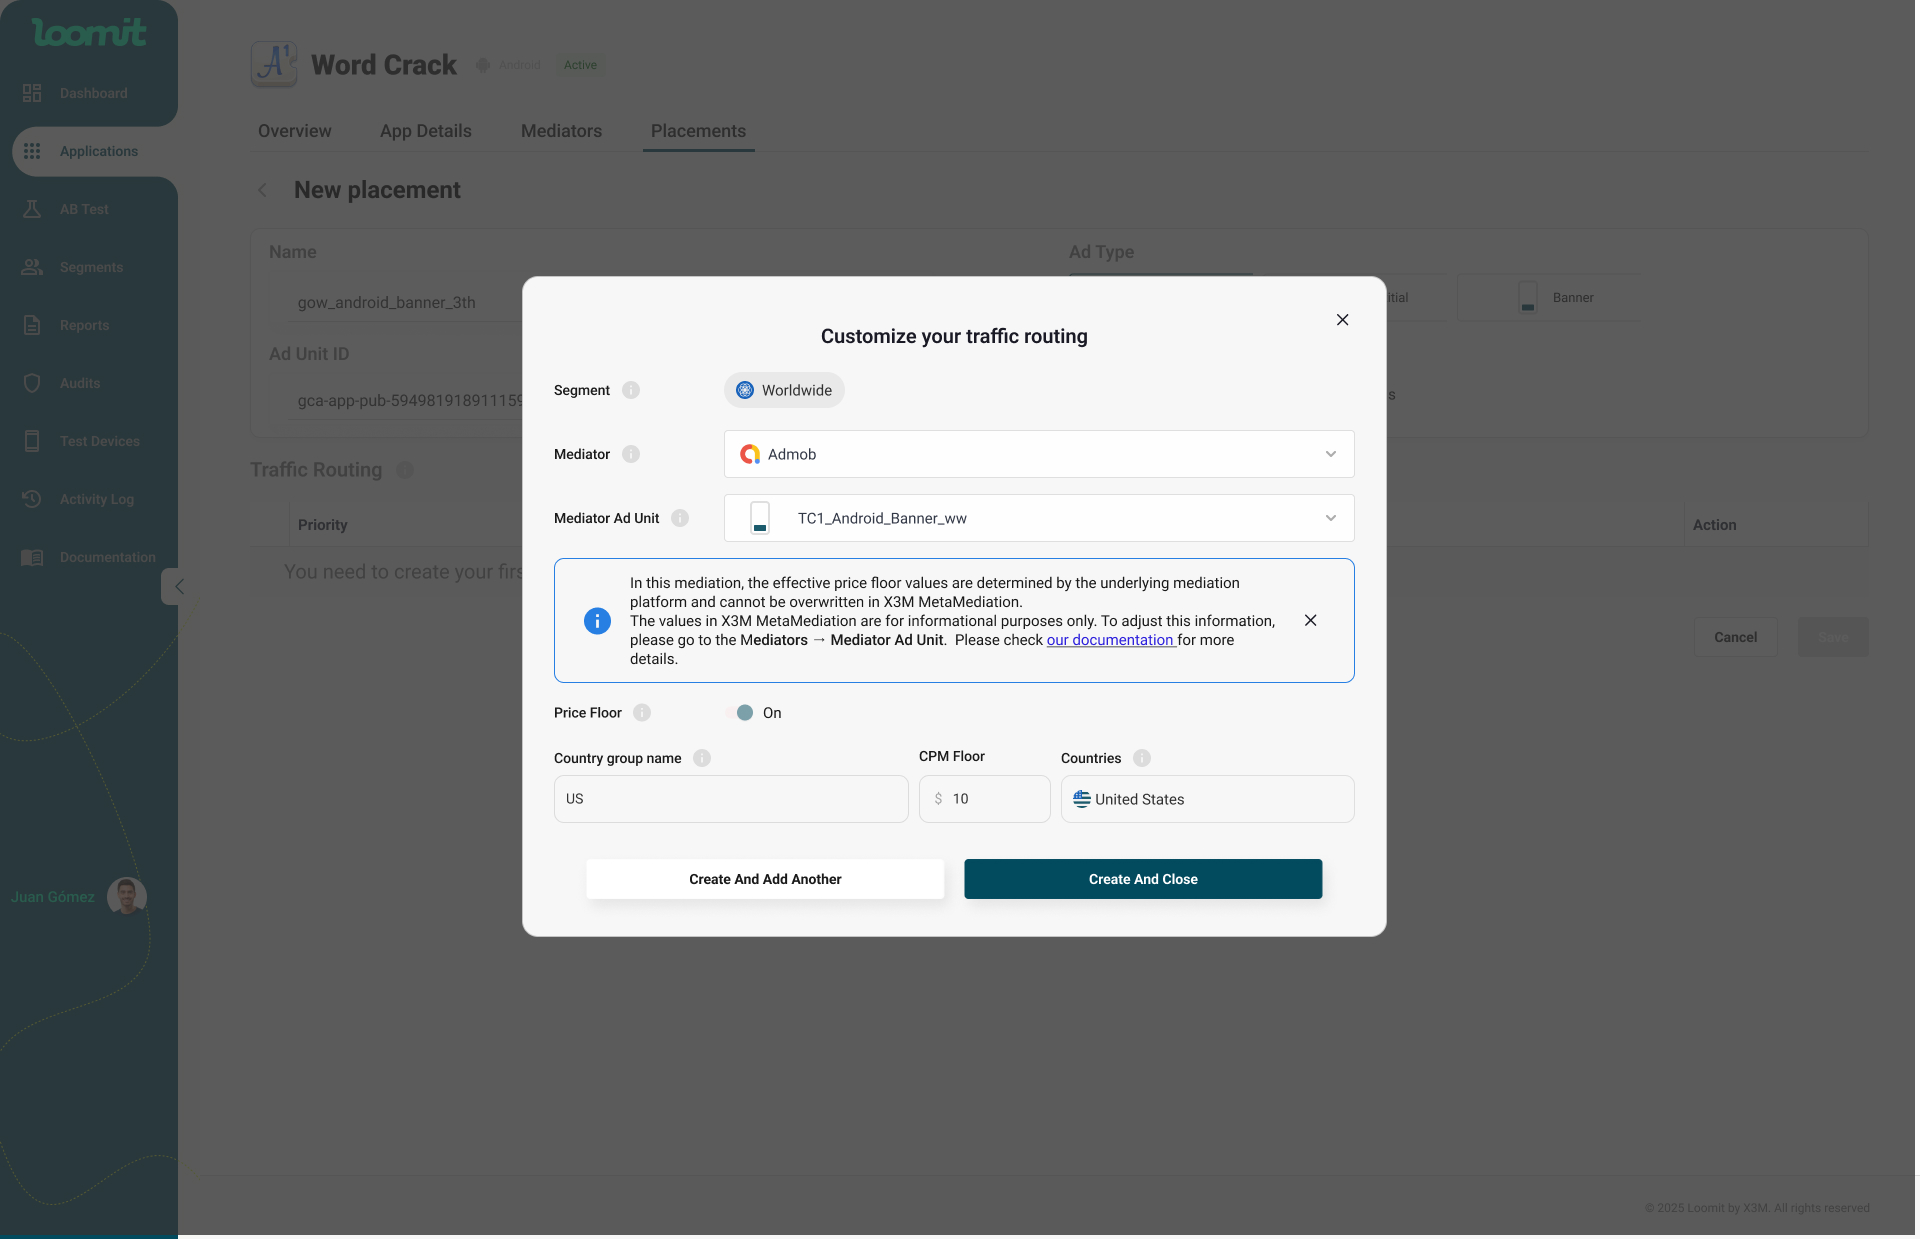
Custimize your traffic routing
- Add more segments for specific countries.
- Create mediation links within those segments.
- Set the price floor for your traffic routing by copying it exactly as it appears in the underlying mediation.
If you need to create a traffic routing, click on the purple + button to create it. You can then choose the segmentation you want and link it to your mediator and ad unit.
Once created, you can add more traffic links by clicking the ADD + button within each subtable.!
Saving and Editing Placements
After configuring your placement, click Save to apply the changes.
Your new placement will appear in the list with a "New" label.
✏️ You can edit your placement at any time by clicking on it.
Please note: you can update the Traffic Routing, except for the Default route, which is locked.
Advanced Settings
In the top-right corner of the placement configuration screen, you’ll find the Advanced settings button.
Inside this panel, you can manage two delivery optimization features:
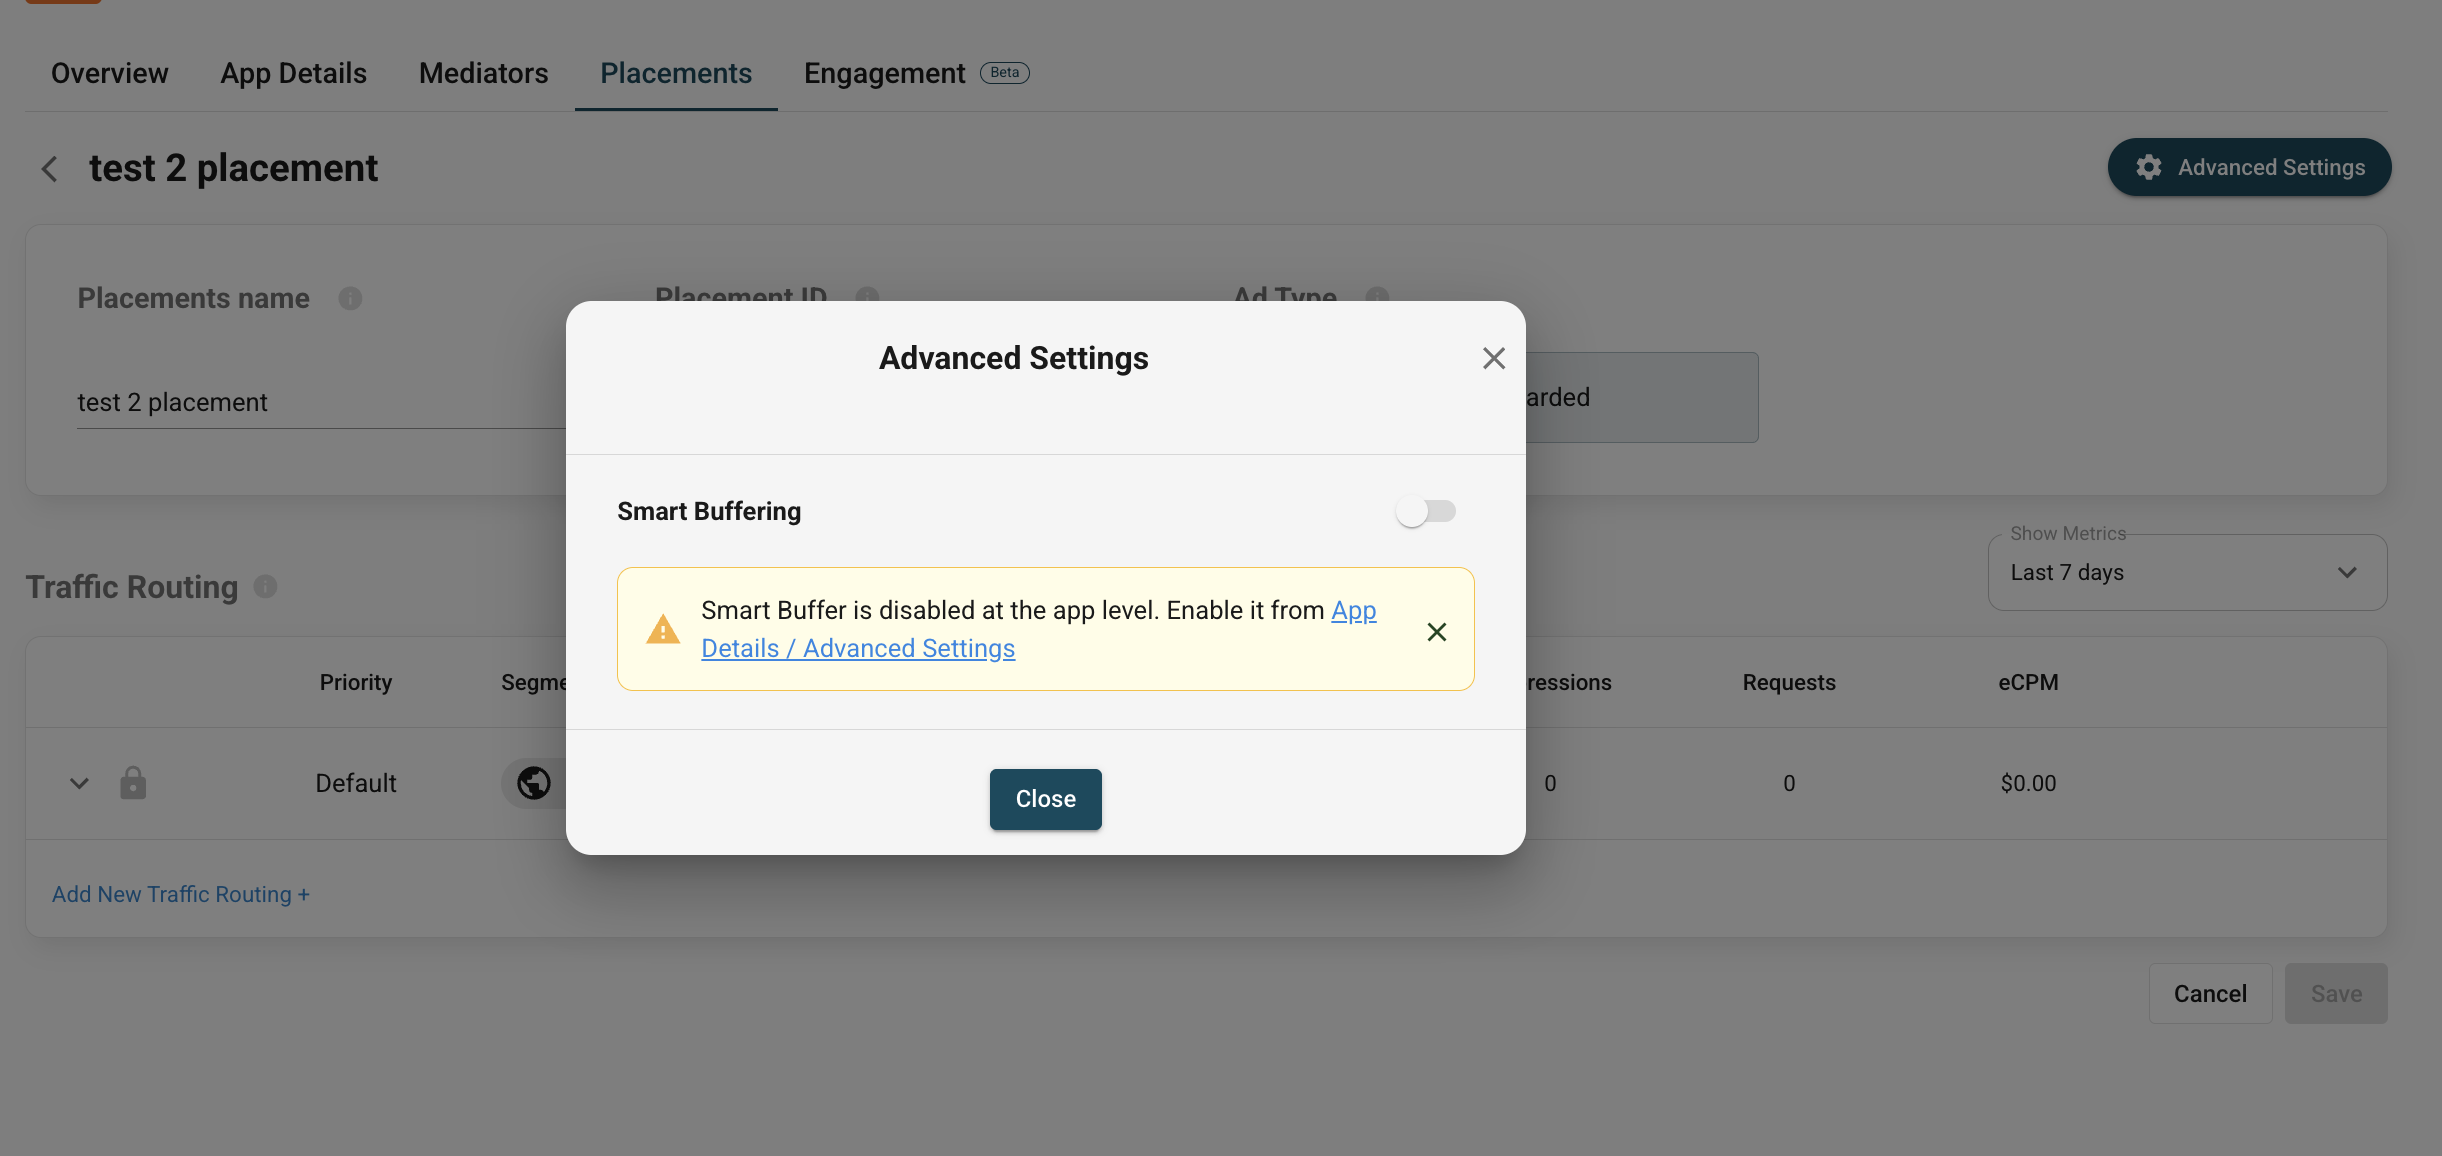
Smart Buffering
Smart Buffering preloads ads intelligently before they're requested, helping reduce latency and improving the user experience.
Why keep it enabled?
- Faster ad load times
- Higher success rate for impressions
- Smoother transitions, especially in poor network conditions
What happens if you turn it off?
- Ads may take longer to load
- Increased chance of timeouts
- A less seamless experience for users
We recommend keeping it enabled unless you’re troubleshooting or testing specific behaviors.
Can I enable it if it's off at the app level?
No — if Smart Buffering is disabled at the app level, it cannot be turned on at the placement level.
To activate it, go to:
App Details > Advanced Configuration and enable it for the app first.